
The Short Answer
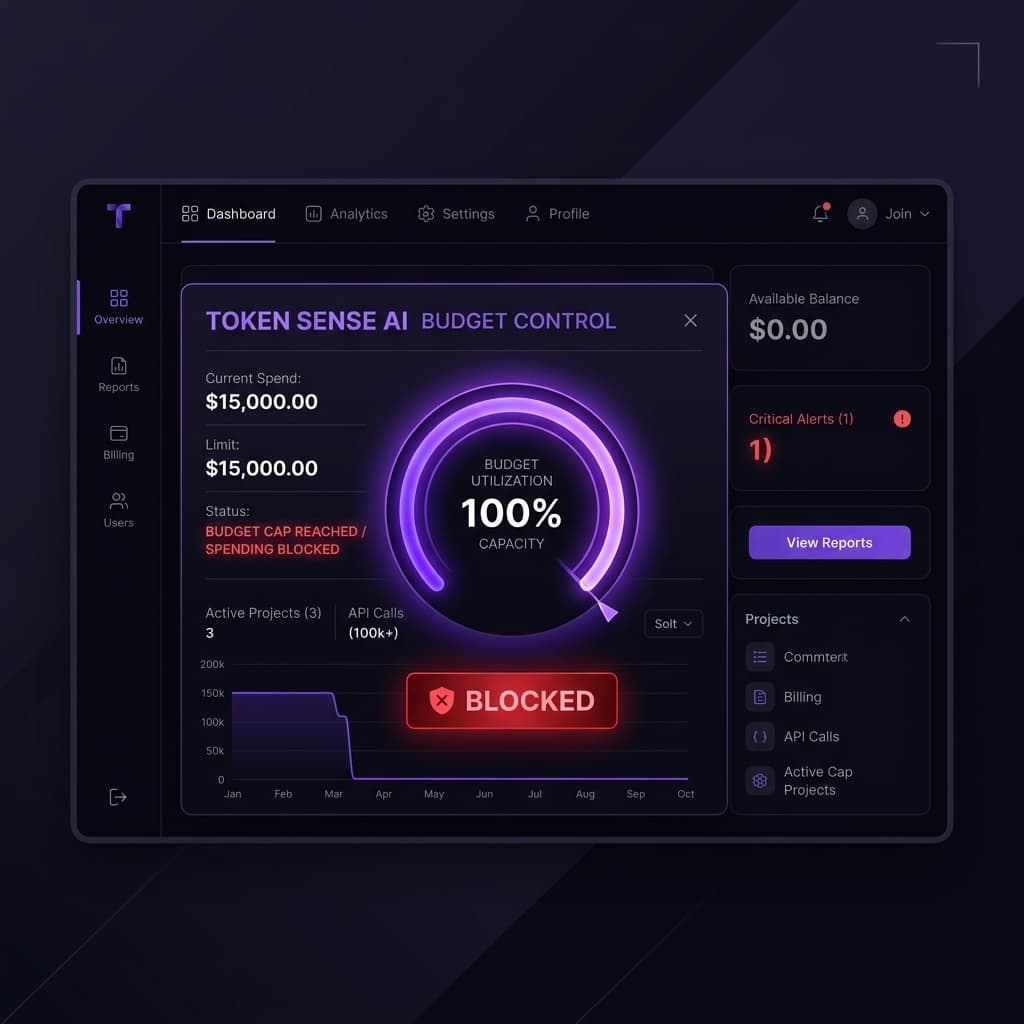
Install the n8n-nodes-tokensense community node from npm into your self-hosted n8n instance, create a TokenSense credential with your workspace endpoint and API key, point your AI nodes at the TokenSense endpoint instead of calling providers directly, and set a monthly budget cap in the TokenSense dashboard. When the cap is hit, requests are blocked — not just flagged. The whole setup takes about ten minutes on any self-hosted n8n version with community nodes enabled.
The community node — now verified by n8n — unlocks per-step and per-execution cost attribution. It reads the n8n step name and execution ID automatically, so every dollar is traced to the exact node that spent it. Self-hosted users can install it today; the verified node is available on Cloud. As of 4 October 2026, npm 0.1.20 is published; Cloud 0.1.20 is approved but awaits publication, with 0.1.18 still live. If you self-hosted to control your costs, this is the next lever: your VPS bill is fixed, but your AI provider bill is variable, growing, and — until now — invisible at the workflow level.
Why Self-Hosted AI Spend Behaves Differently from Infrastructure Spend
Infrastructure is fixed-monthly. AI is per-call and variable.
A typical self-hosted n8n instance runs on a VPS from a provider like Hetzner or DigitalOcean for $5–10 per month. That covers compute, storage, and the n8n runtime. The number barely moves whether you run five workflows or fifty. Now add AI nodes — OpenAI, Anthropic, Gemini — and a team running ten AI-powered workflows at moderate volume can accumulate $200–600 per month in provider charges. The cost ratio flips: AI spend runs 20–100× your infrastructure spend. That is the cost shape that needs a budget conversation.
Self-hosting saved you the subscription. It didn’t save you the AI bill.
The decision to self-host n8n is usually a cost decision or a control decision — sometimes both. Either way, the savings stop at the n8n layer. Your OpenAI or Anthropic invoices keep climbing because every AI call carries its own per-token charge, completely independent of where n8n runs. The financial model that justified self-hosting needs a new lever: enforced caps at the workflow level, not just awareness that spending is happening.
Three patterns that make self-hosted AI bills surprise you.
First, workflow proliferation. Self-hosted instances have no execution limits, so teams build more workflows than they would on Cloud. More workflows means more AI calls, and each new automation adds to the provider bill without any built-in friction.
Second, long-running scheduled triggers. Self-hosted instances commonly run cron-style automations that fire every five minutes around the clock. A single scheduled workflow making one AI call per trigger generates over 8,600 calls per month — and nobody reviews the bill until it arrives.
the unmonitored AI spend trap is even sharper on self-hosted: unlike n8n Cloud, the self-hosted UI does not display execution costs natively. You only discover what you spent when the provider invoice arrives. There is no usage dashboard surface area between the workflow log and your credit-card statement.
Install the Community Node on Your Self-Hosted Instance
The community node is n8n-nodes-tokensense, available on npm. It is the only AI-gateway-class product shipping an AI Agent sub-node on n8n, giving self-hosted users budget enforcement, cost attribution, and smart routing inside the native node panel.
Install through the n8n UI: go to Settings → Community Nodes → Install, then enter n8n-nodes-tokensense. Alternatively, install via the command line in your n8n directory: npm install n8n-nodes-tokensense.
Restart n8n after installation. If you run n8n in Docker: docker restart n8n. If you use PM2: pm2 restart n8n. The new nodes appear in the node panel immediately after the restart.
Create a TokenSense credential: set the endpoint to https://api.tokensense.io and paste the API key from app.tokensense.io/keys. Point your AI nodes at this credential, and every call flows through the gateway — logged, attributed, and budget-enforced.
For the full step-by-step with screenshots, see the self-hosted install guide.
Setting Up the Monthly Budget Envelope
Observe before you cap.
Run your AI workflows through TokenSense for seven to fourteen days with no cap set. Watch what "normal" looks like. The dashboard shows daily spend broken down by workflow, so you can track AI costs per workflow before deciding where to draw the line. Seeing your baseline is the difference between guessing at a number and setting one that actually fits your usage.
Pick the cap by workflow shape.
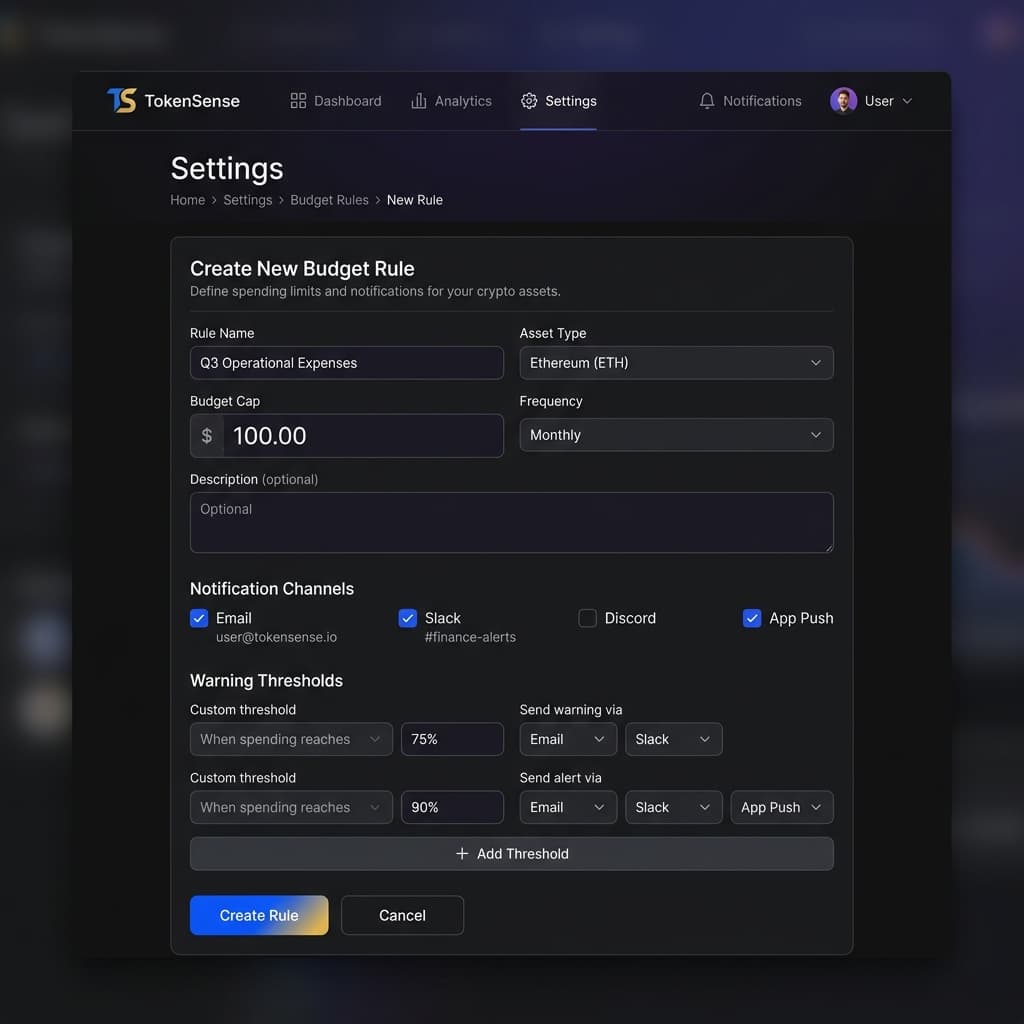
Different workflow patterns deserve different buffers above baseline. Event-driven workflows (webhook-triggered, roughly one AI call per event) are the most predictable — multiply your observed monthly spend by 1.5× and set the cap there. If your webhook classifier baseline is $40 per month, cap at $60. Scheduled workflows (cron triggers firing every few minutes) have more variance because volume depends on the data that arrives each cycle — use a 2× buffer. A $75-per-month summarisation workflow gets a $150 cap. Agent-based workflows (AI Agent nodes with tool use that loop multiple calls per task) can spiral when the agent takes unexpected reasoning paths — give them a 3× buffer. A $100-per-month research agent gets a $300 cap.
Workspace cap vs project cap vs key cap.
TokenSense offers three layers of budget enforcement, not alerts. A workspace cap is the global ceiling across all projects and workflows — your total AI line item. A project cap isolates spend for a logical group (a client, a department, a product line). A key cap limits a single API key, useful when one workflow has its own credential. Start with a workspace cap to bound total risk, then layer project or key caps as your usage patterns become clear. Teams that manage AI costs across multiple clients typically use one project per client with its own monthly cap.
What happens when the cap fires.
When spend reaches the cap, the gateway returns a 402 status code and your workflow receives a clean error: "Your workflow budget is exhausted" — exactly what you set it to do. No runaway bill, no silent overcharge. Compare that to the alternative: waking up to a $500 OpenAI surprise because a scheduled trigger ran unchecked all weekend. The 402 is protection, not a failure. See the 402 troubleshooting guide for handling options, including one-click cap increases in the dashboard.
Workspace Budget Guardrail
The Self-Hosted Bonus — Per-Step and Per-Execution Attribution
The node populates step and execution_id automatically.
The TokenSense community node reads context.getNode().name and context.getExecutionId() at runtime and injects both values into request.body.metadata before the AI call leaves n8n. This means every request that hits the gateway already carries the exact step name and the unique execution identifier — no manual tagging, no extra configuration. The verified node is available on self-hosted and Cloud. As of 4 October 2026, npm 0.1.20 is published; Cloud 0.1.20 is approved but awaits publication, with 0.1.18 still live. It is the only path to automatic per-step cost attribution on n8n today.
What this unlocks in the dashboard.
With step and execution metadata flowing in, the TokenSense dashboard can show you three things that are impossible without it. Per-step cost: see which specific node inside a multi-node workflow burned the spend — was it the classifier or the summariser? Per-execution cost: compare individual runs of a recurring workflow instead of looking at monthly averages, so you catch the one outlier run that cost ten times more than the rest. Multi-agent attribution: in an AI Agent node with tool-use sub-nodes, see costs broken out per tool call rather than lumped into a single agent total.
The node is now verified by n8n, bringing per-step and per-execution attribution to both self-hosted and Cloud users. Self-hosted users can install it today; the verified node is available on Cloud. As of 4 October 2026, Cloud 0.1.20 is approved but awaits publication, with 0.1.18 still live. Combined with budget enforcement, the community node delivers the tightest cost-control loop available on n8n.
Start Free in Ten Minutes
Self-hosted teams can install the community node in ten minutes, see the first AI call tracked in the dashboard within seconds, and have a budget cap enforced within the hour. Understanding what you spend is the first step; capping it so surprises cannot happen is the second.
Start free at tokensense.io — the Starter plan includes 10,000 requests per month, full cost tracking, and budget caps. No credit card required.